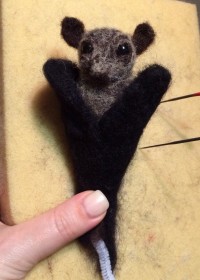
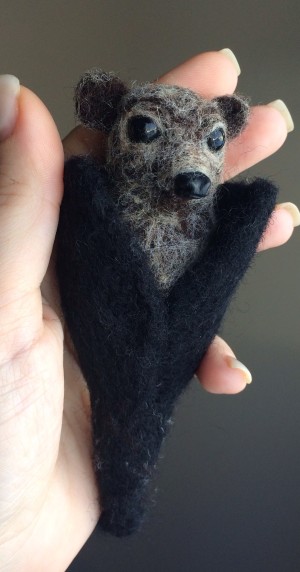
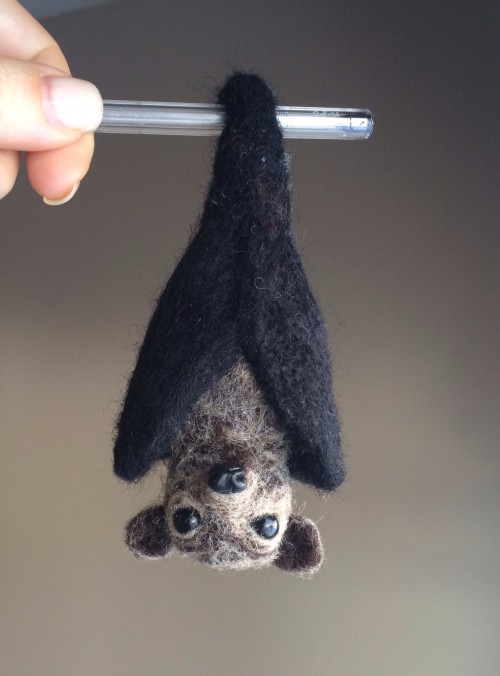
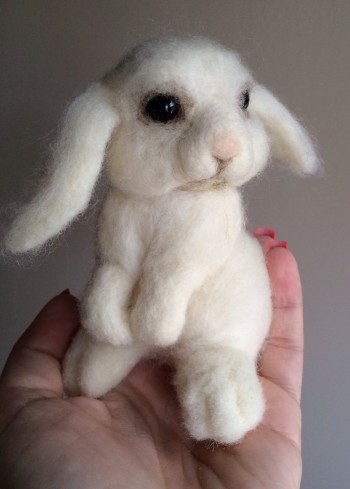
I was in the middle of doing a tiger when someone sent me a picture of a needle felted bunny, and I just had to make one myself.
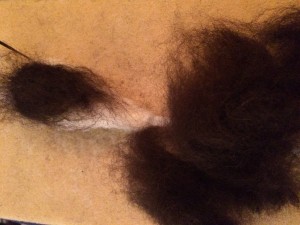
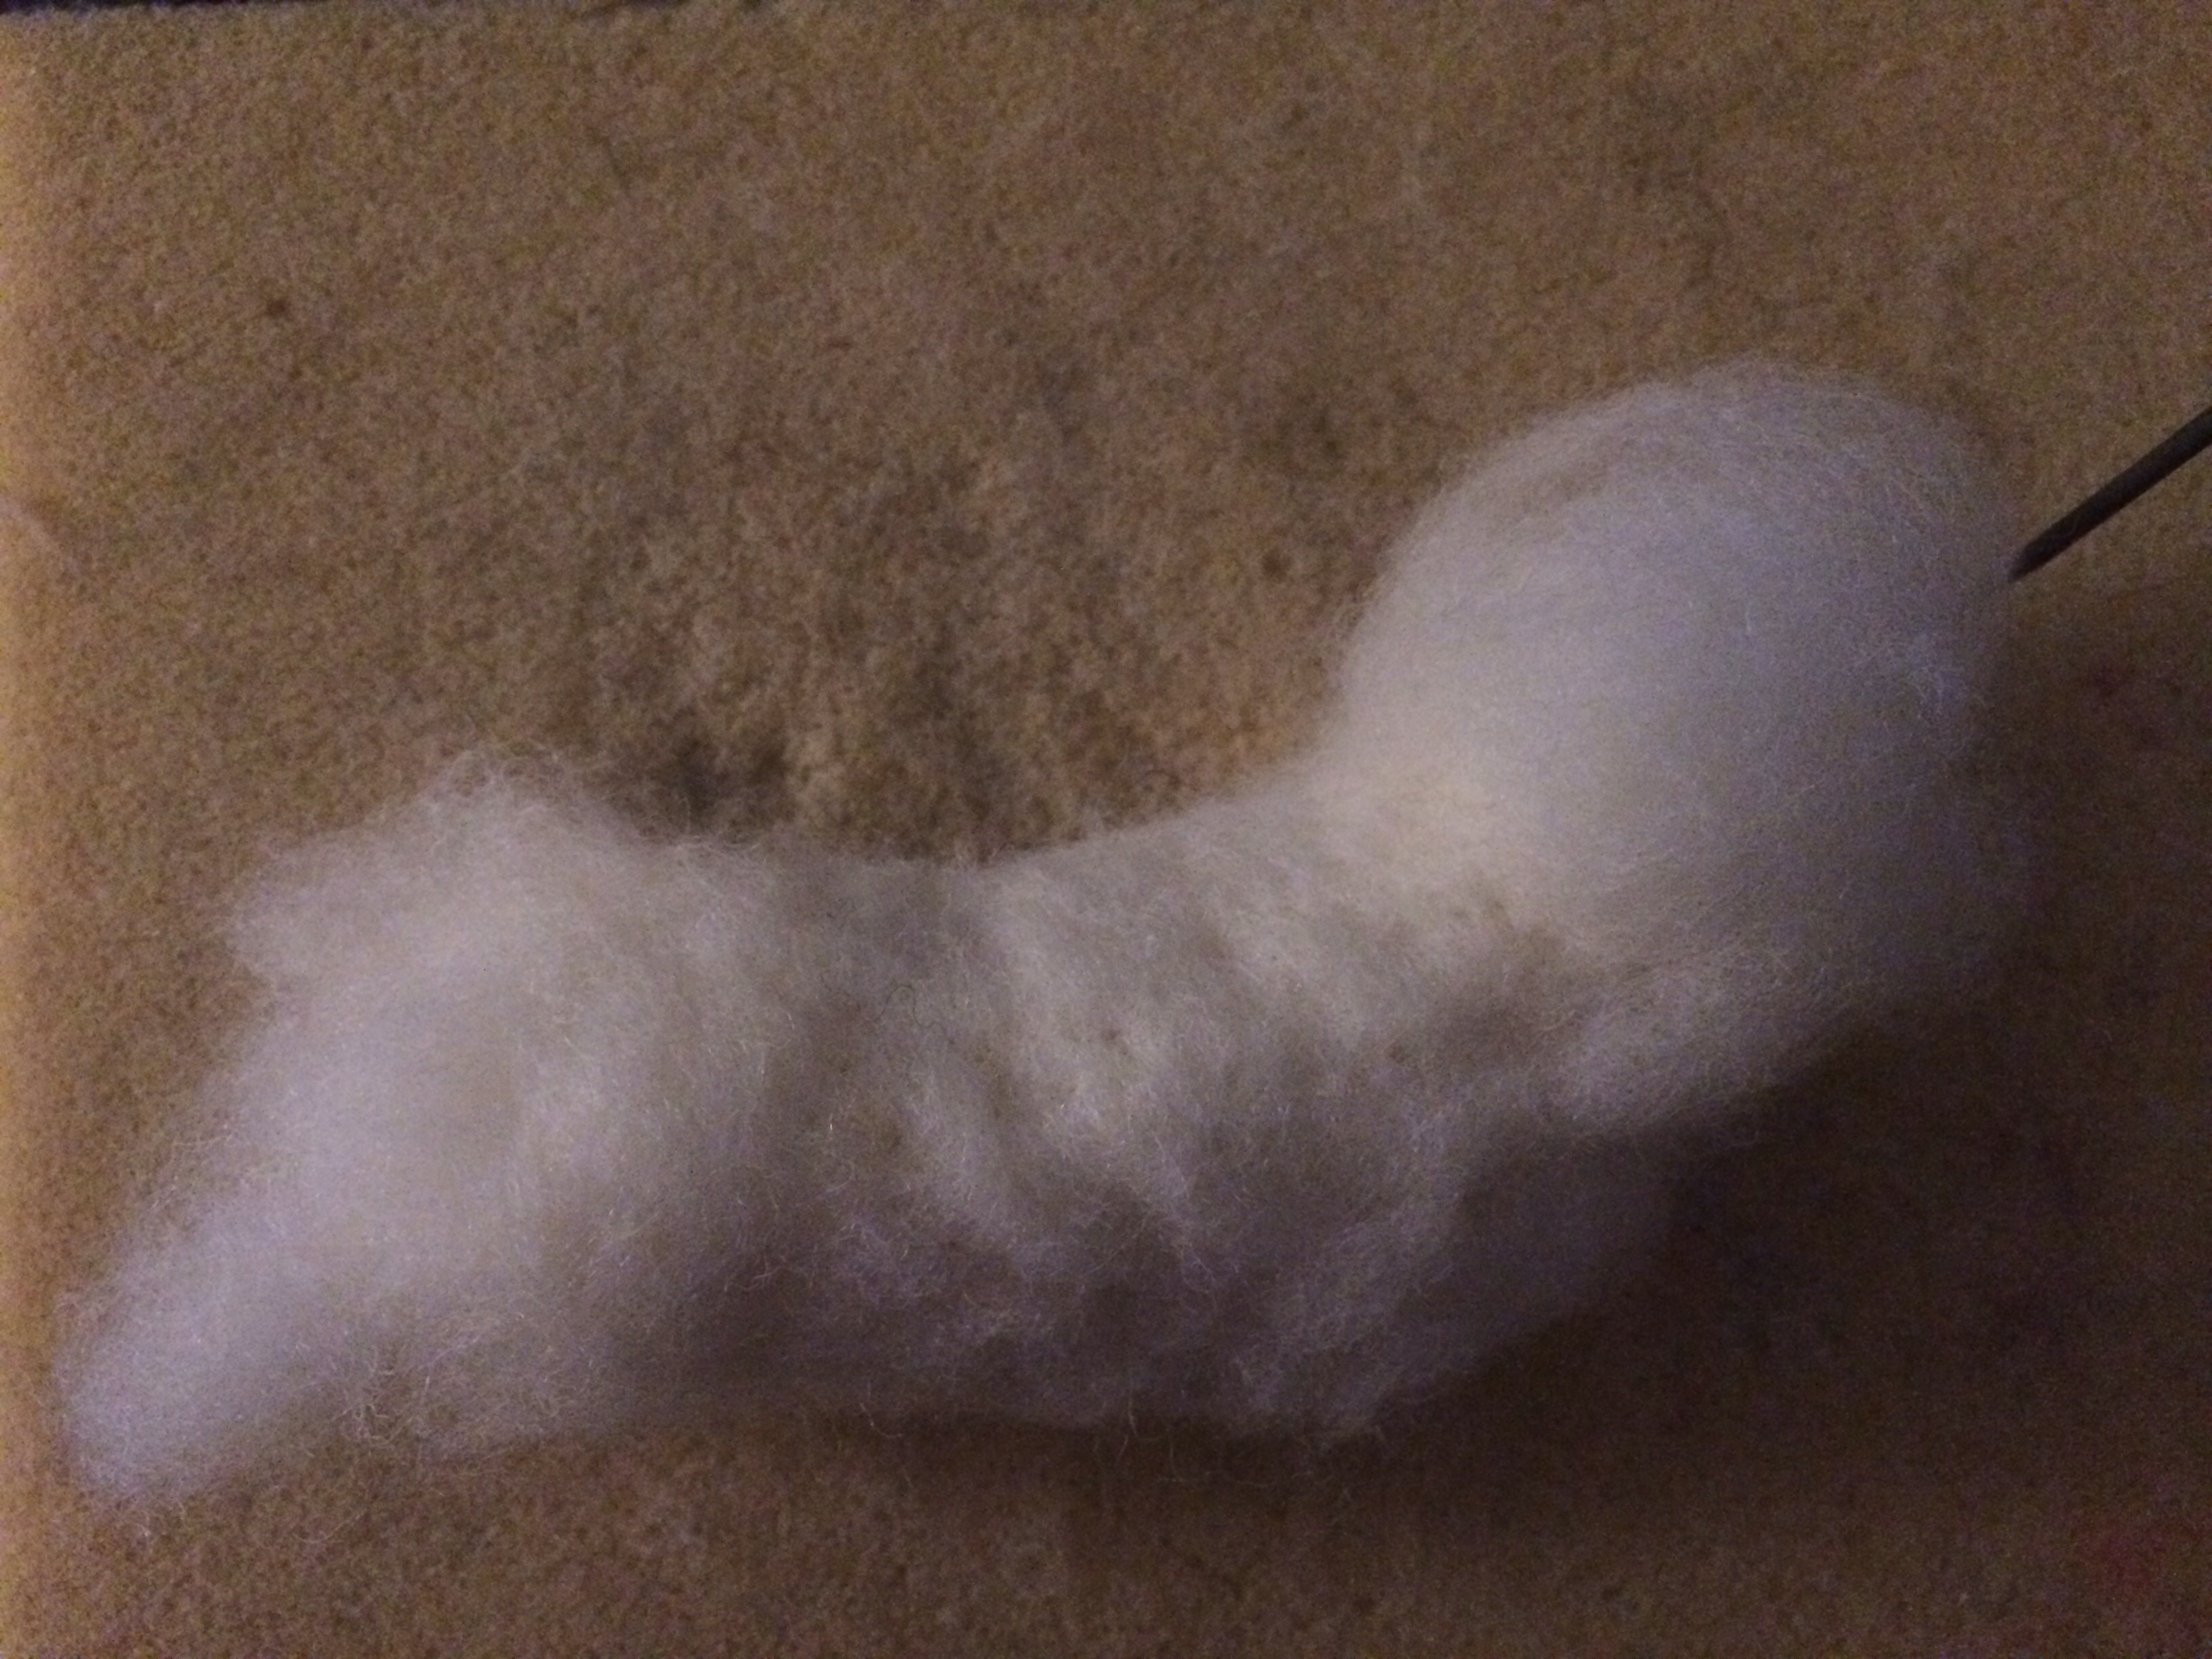
1. As always, I start with a fluff of wool, a barbed needle made for felting and a foam pad.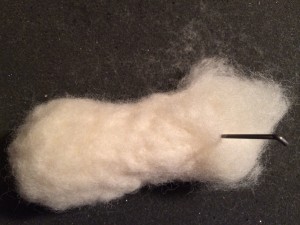 2. Start poking wool into basic shape.
3. Make base of head on top.
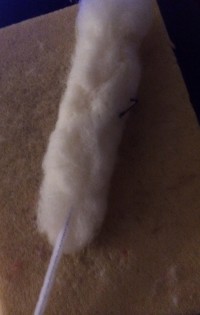
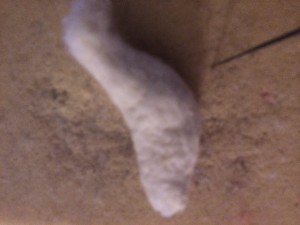
4. Add more wool and start building a shape. You can see in this picture I started adding some more wool for the cheeks and the lower legs.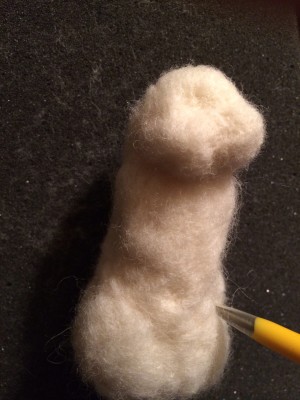 5. Felt a roll of wool separately. This will be the arms.
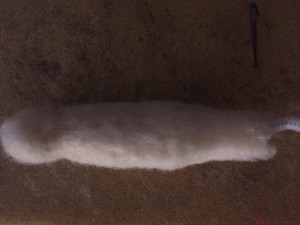
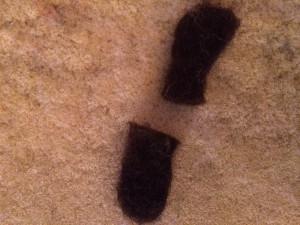
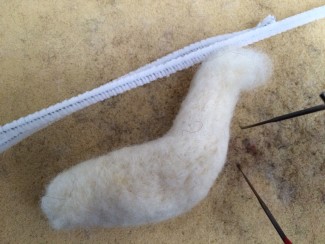
 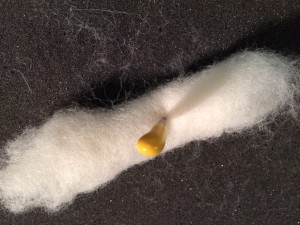 6. After it’s firm, cut it in half.
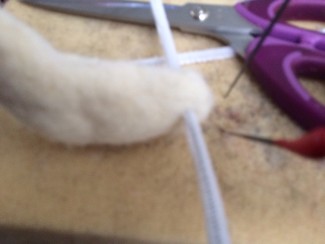
 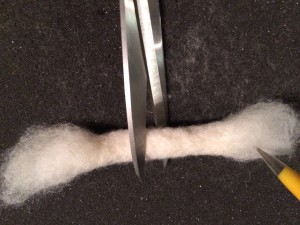 7. Poke half the side in so that it’s profile looks like the one on the right when turned.
 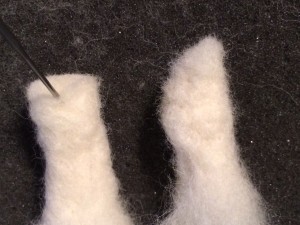 8. Poke the loose wool into the body.
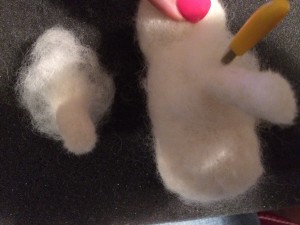 9. Build up the face more.
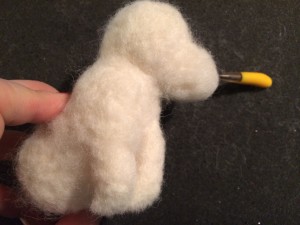 10. Add more cheek fullness.
 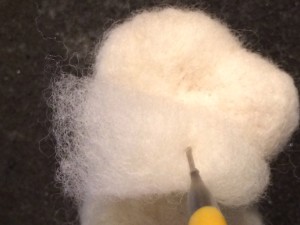 11. Poke in a continuous line to make mouth and nose definition
  12. Make a pointed tube like this. This will eventually be the ears.
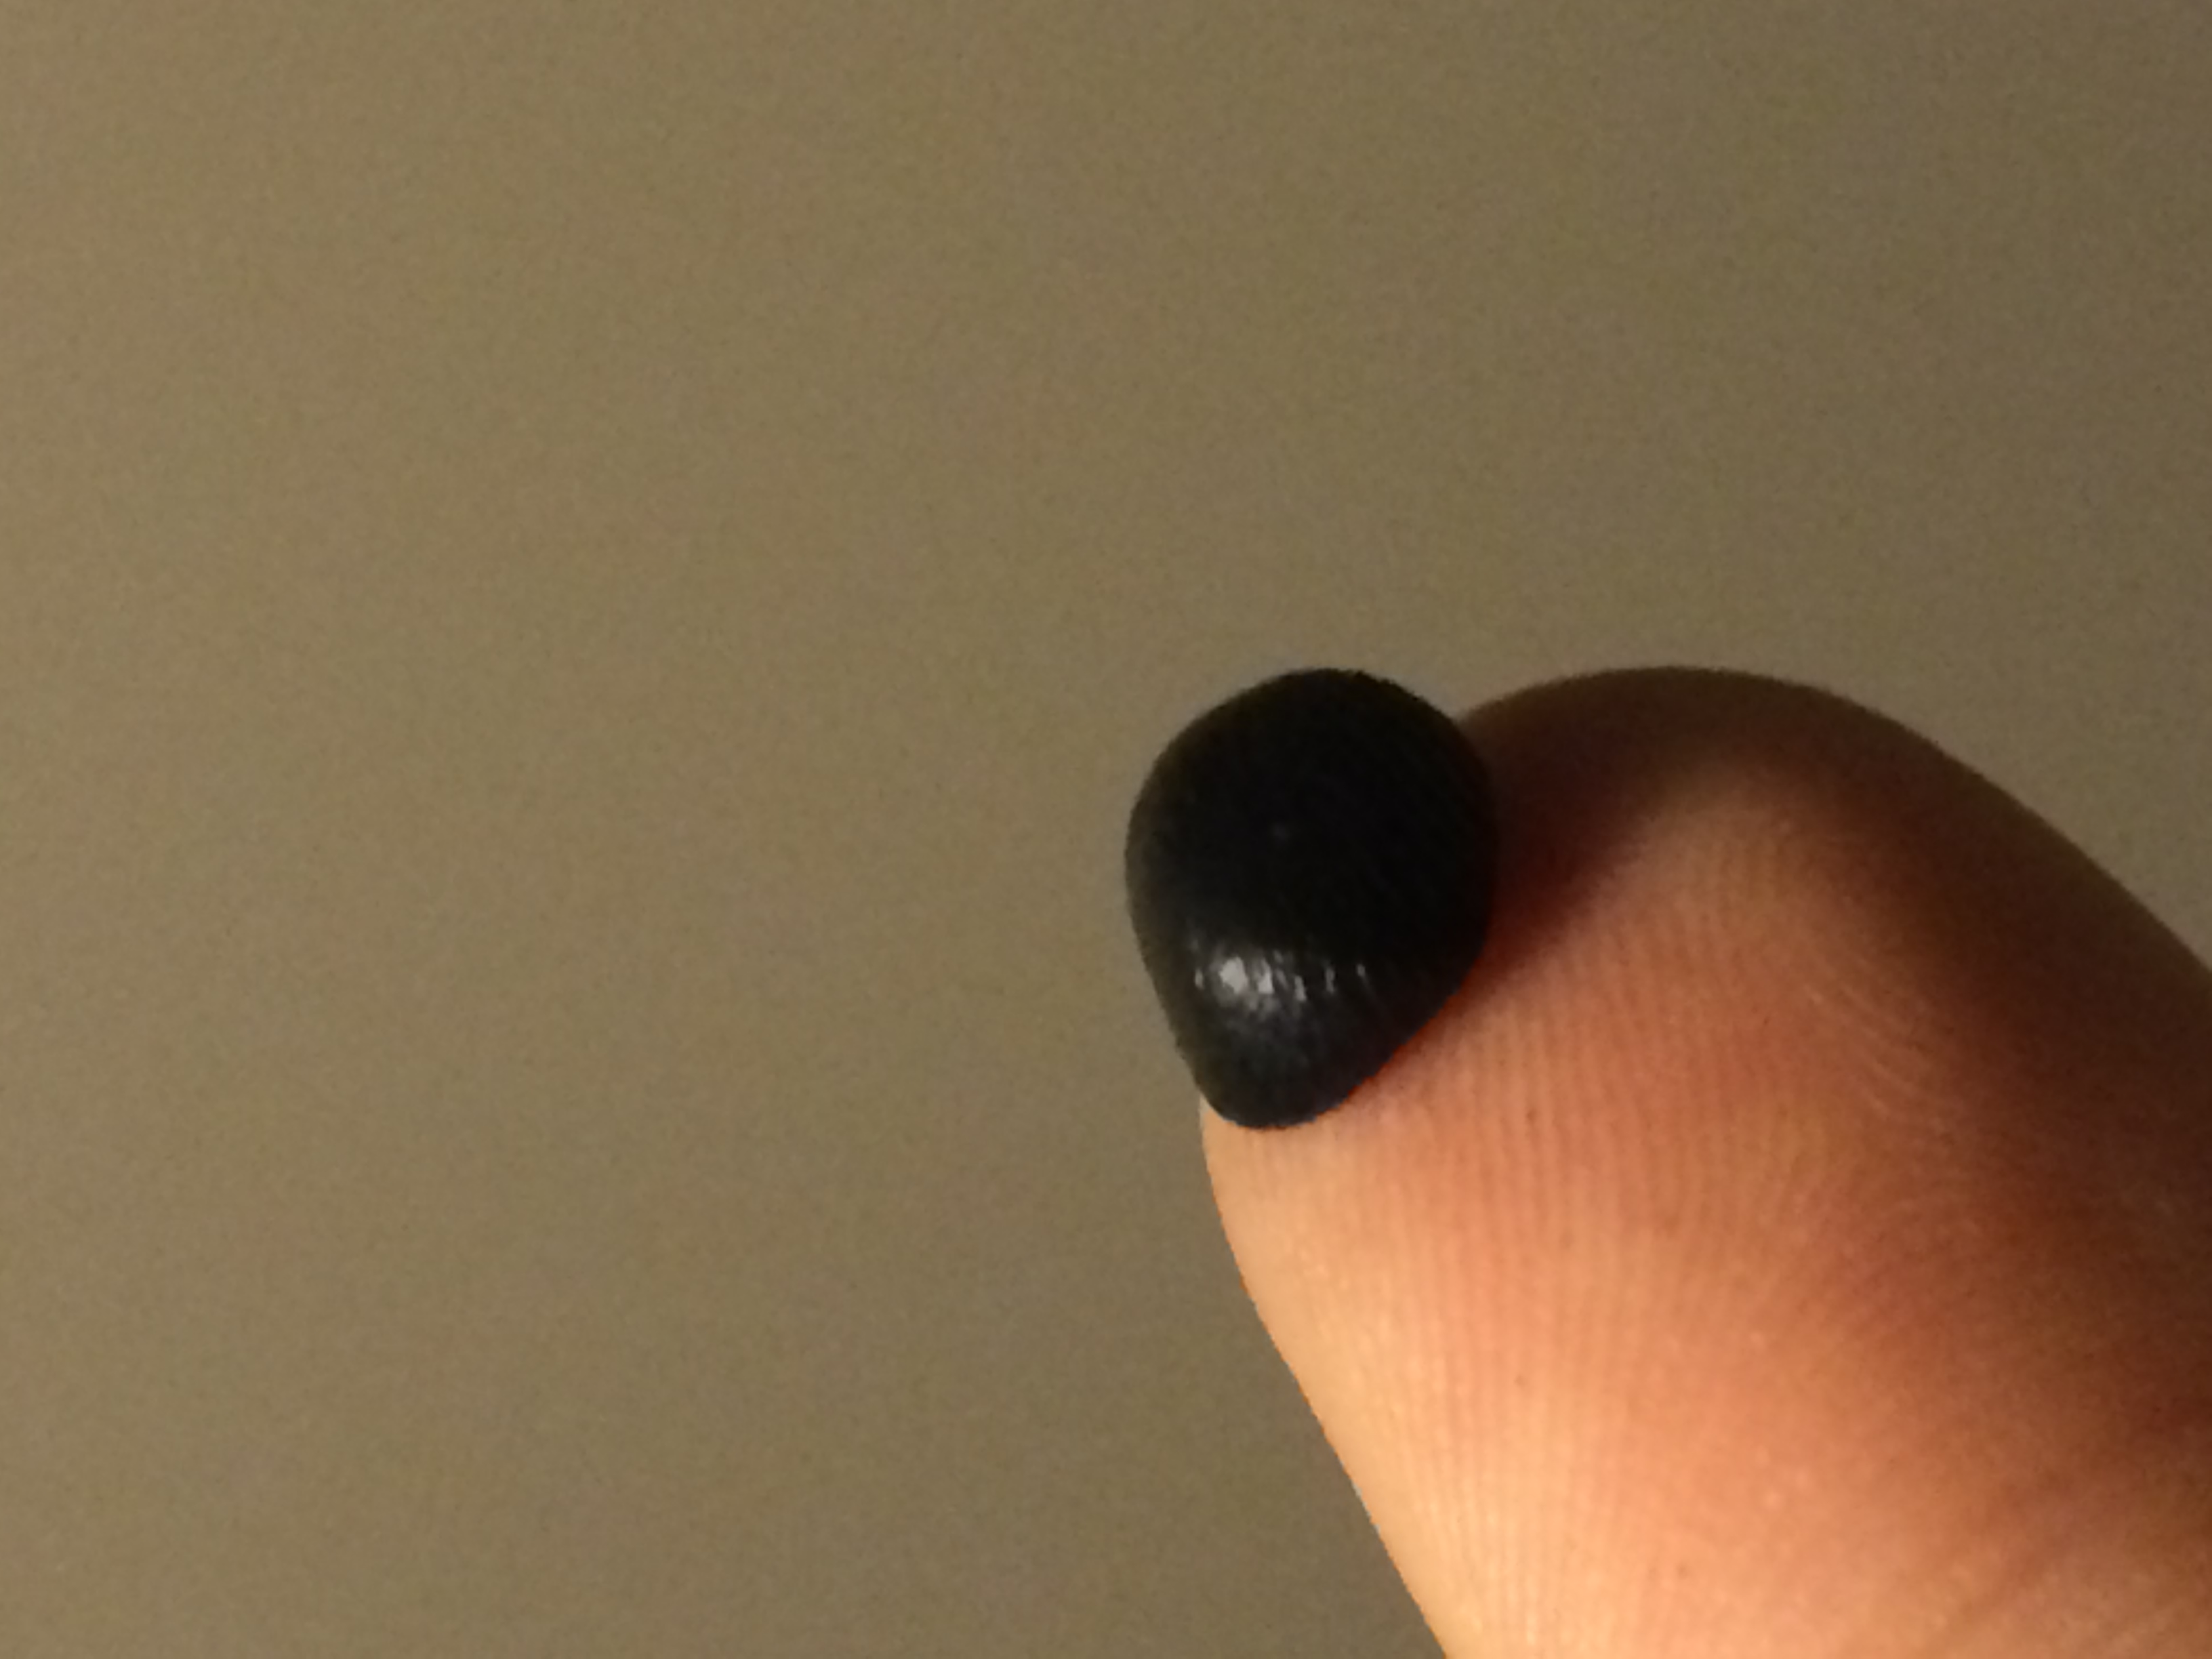
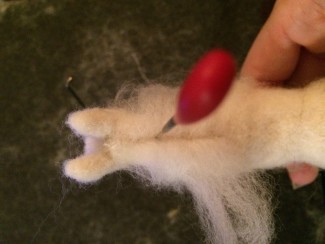
 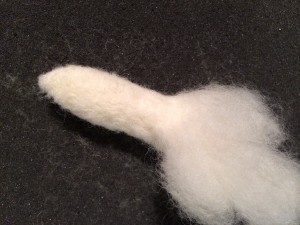 13. Cut it in half lengthwise.
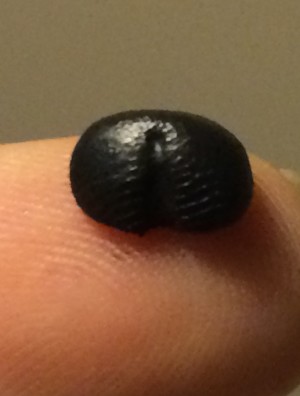
 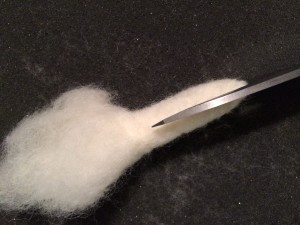 14. Split in half.
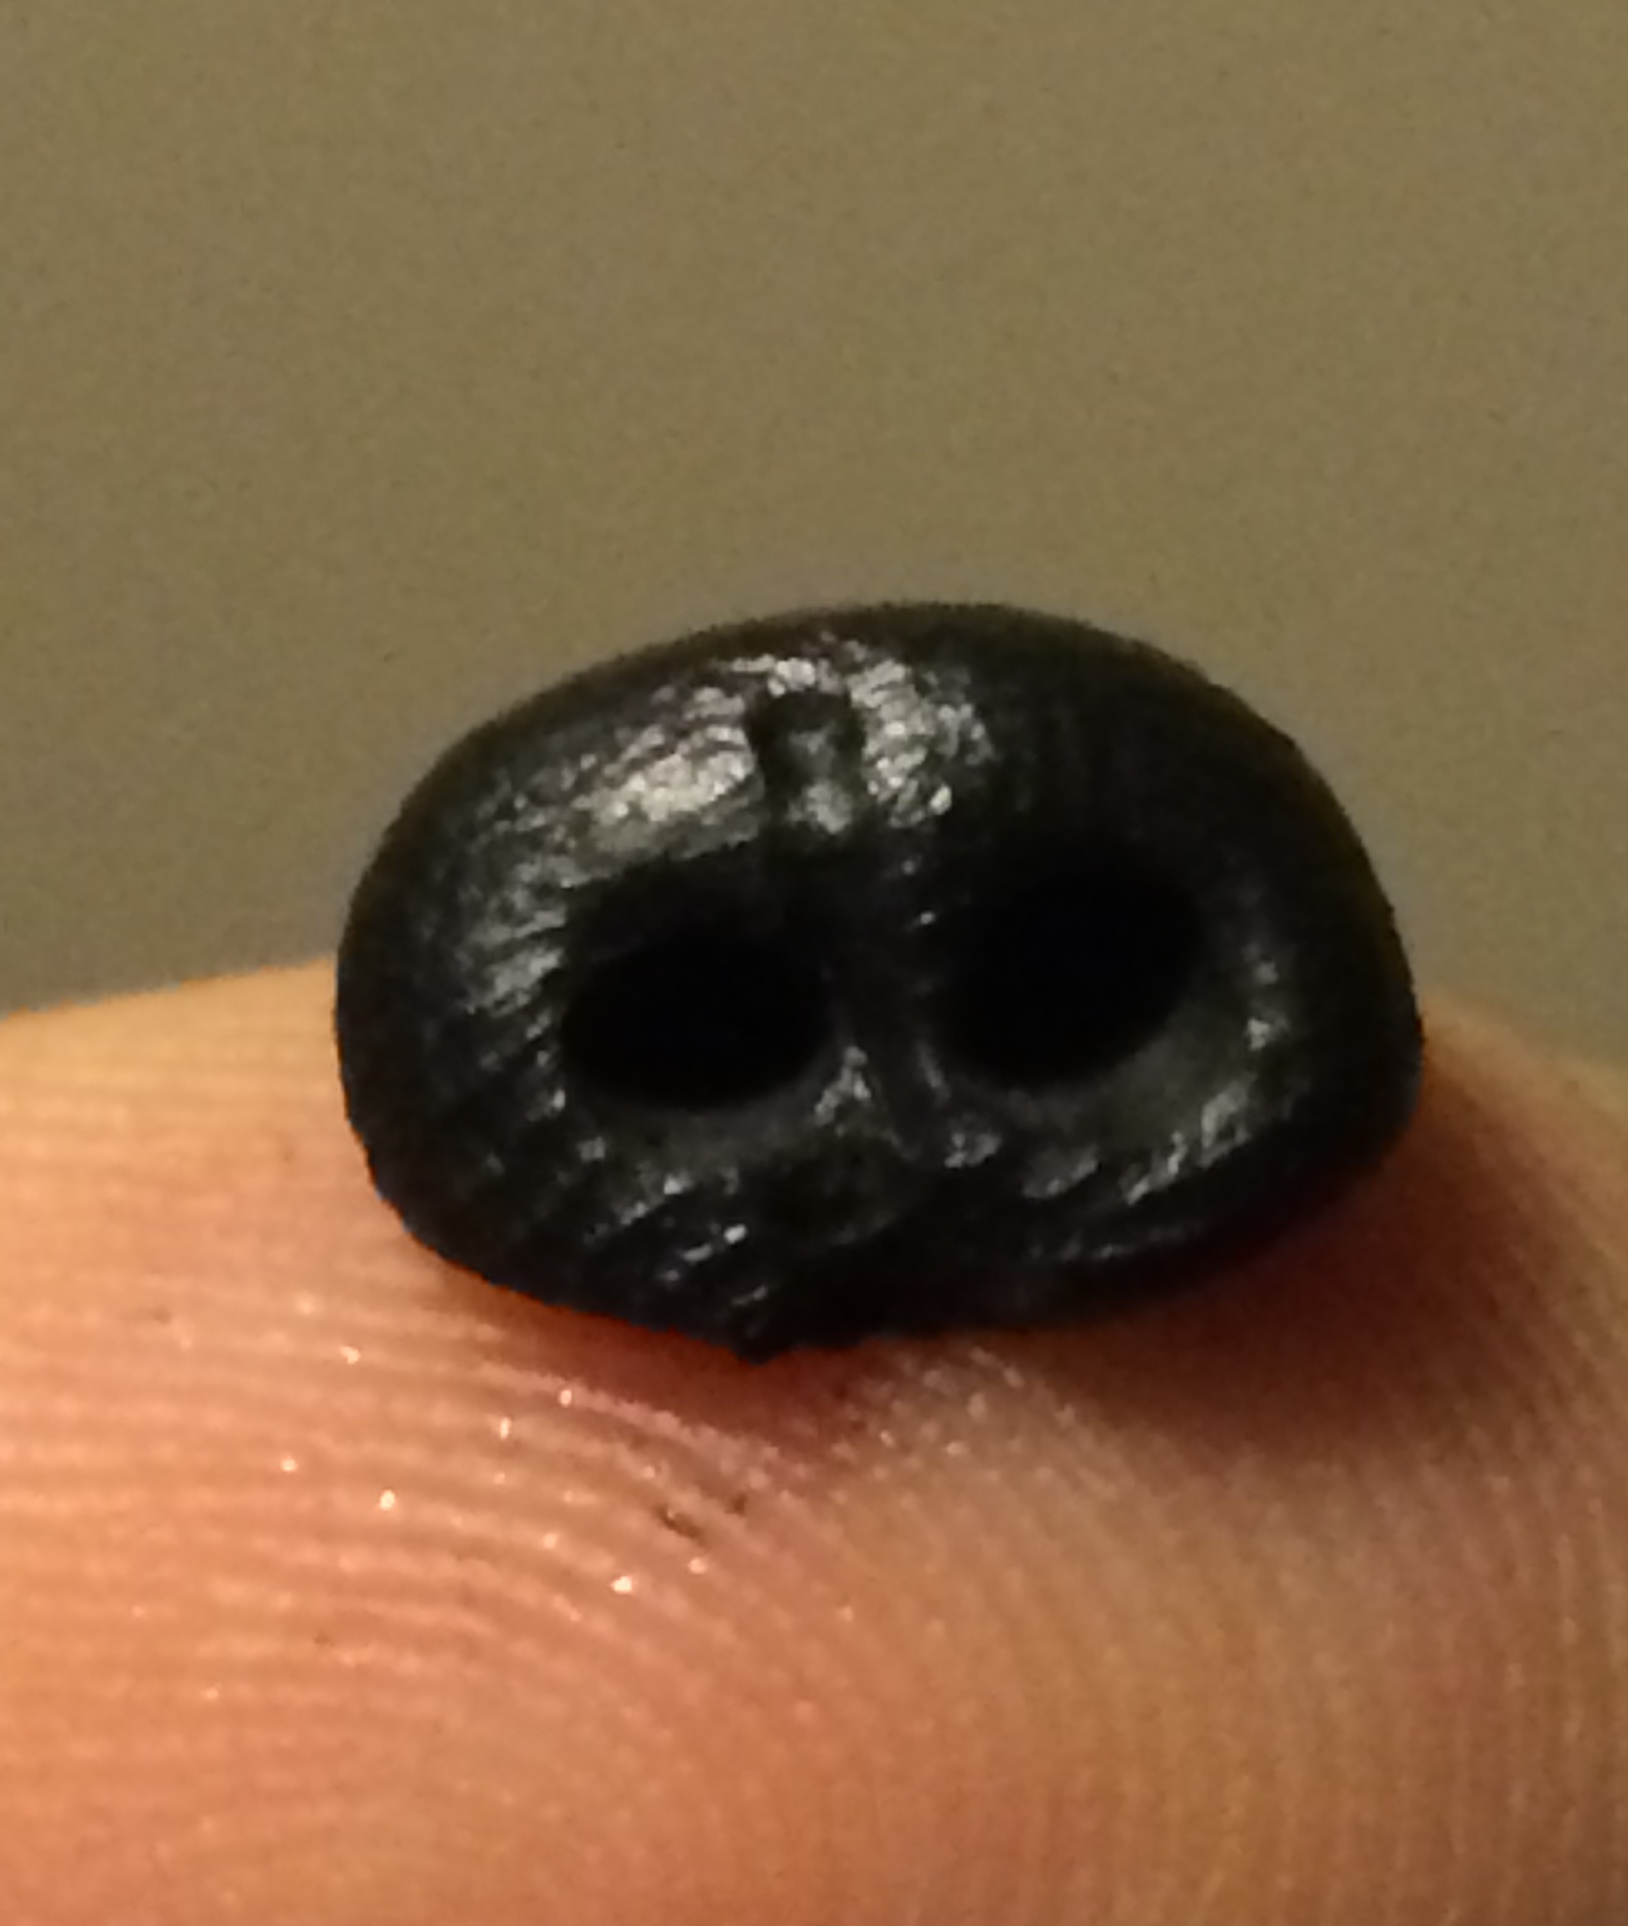
 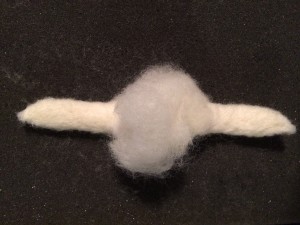 15. Flip over so that what was the inside of the tube is facing upward. Poke at the center. This will help hollow the ears out.
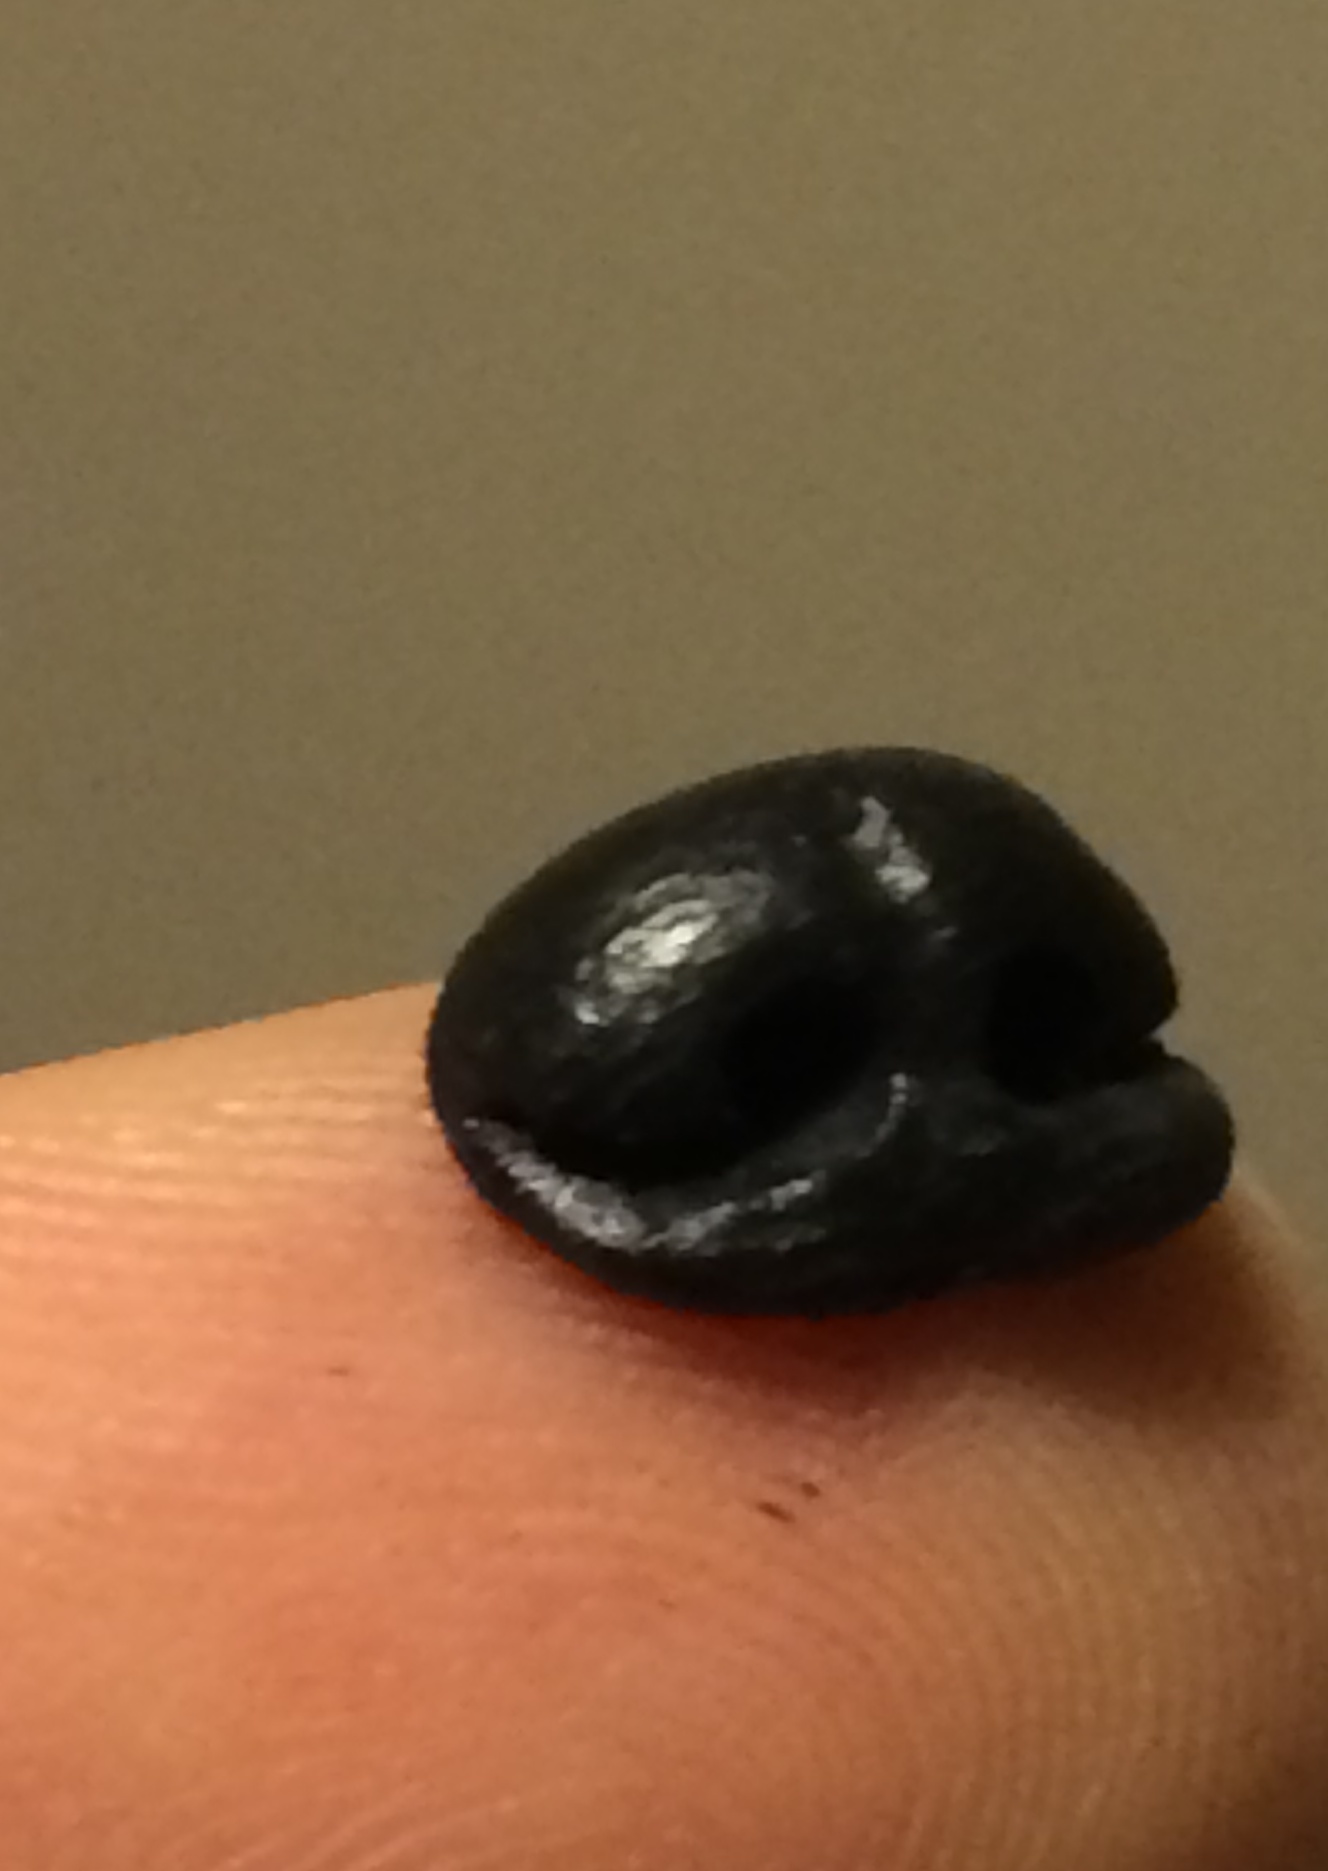
 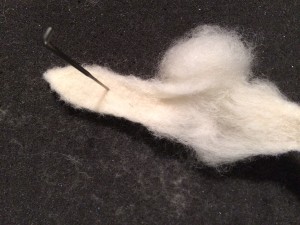 16. Poke in and pinch near the tops. Then place this on the head and poke on.
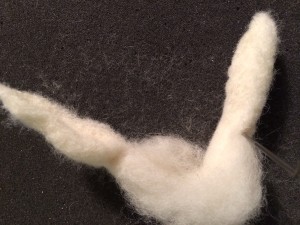 17. Add on bottom paws with the same technique as arms. The loose wool from that will help form the lower legs. Add more wool to fill out.
 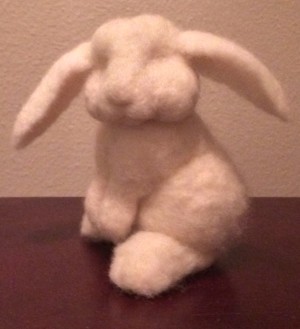 18. Add beads for eyes by sewing them on.
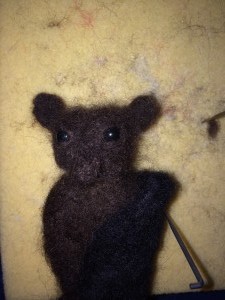
19. Cover the eyes with wool and then shape them.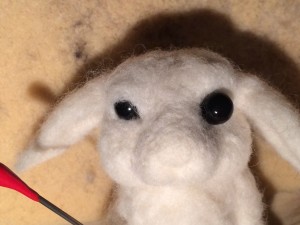
Add a hint of pink on the nose and some tan around the eyes and mouth. Here is the finished bunny below. 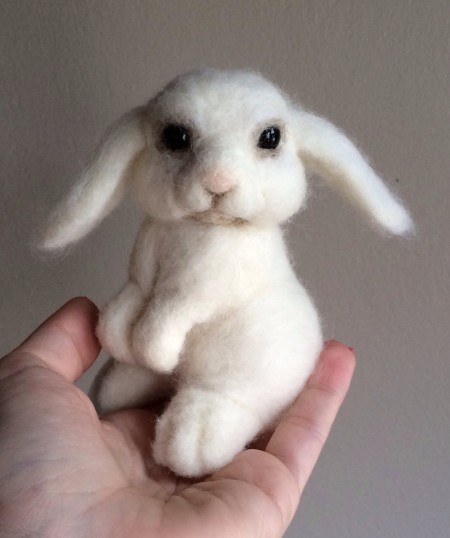
 Build up the neck a bit.
 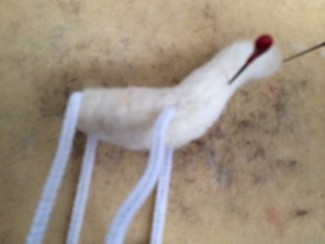 Fill in some of the holes I cut with new wool and start building up the hind legs.
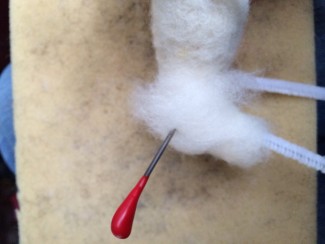
 Build up the legs and start adding wool on for the head.
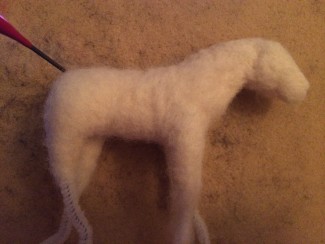 Add wool and just poke away. Starting to make some definition around the head and legs.
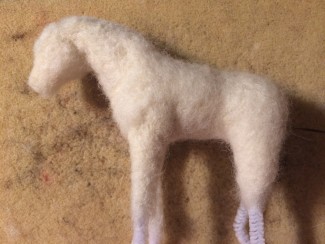 Adding wool to the lower legs is easier if you wrap it around tightly.
 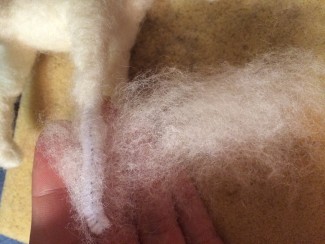 Wrap the wool as tightly as you can and secure it with some poking at the seams.
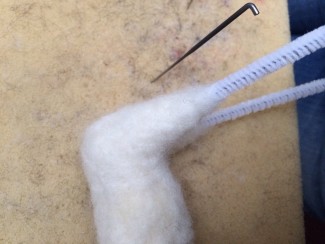
 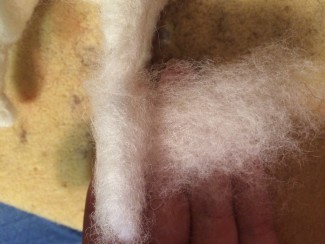 In this picture, you can see the definition I added to the upper leg.
 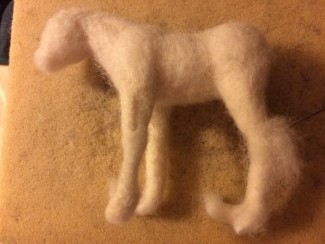 Make some ears. Leave loose wool on the bottom to attach with.
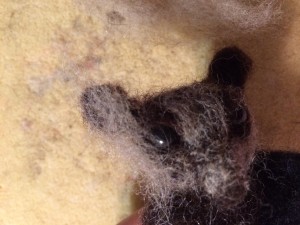
 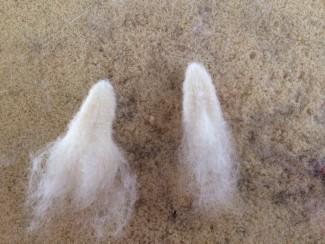 I added ears and cut out an eye socket.
 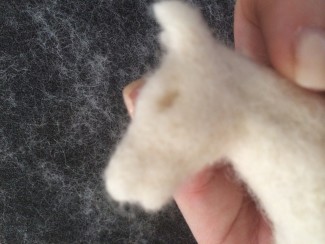 Testing out different black bead sizes for the eye. Remember you are going to add some wool on top so a little big is better.
  Sew on the eyeballs (black beads).
 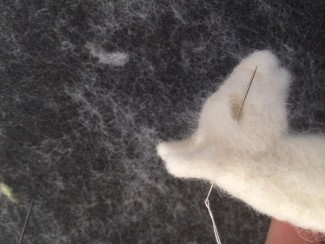 I added some wool on top of eyeball and I am laying some softer angora wool strands over neck for mane.
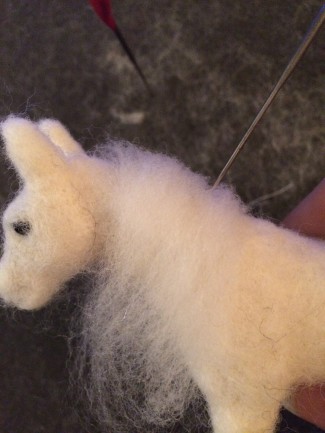
 Gathered some softer hair into a tail and poked ends into back of horse.
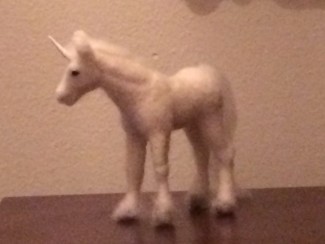
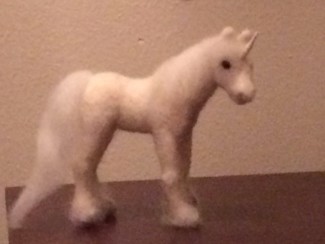
 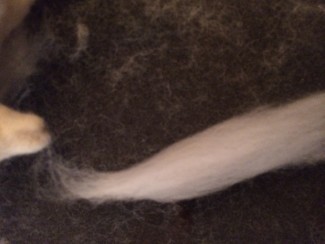 I trimmed mane hair and glued on a clay horn. I also lightly poked some loose wool over the hooves. poked at nostrils and basically fine tuned her. Finished unicorn.
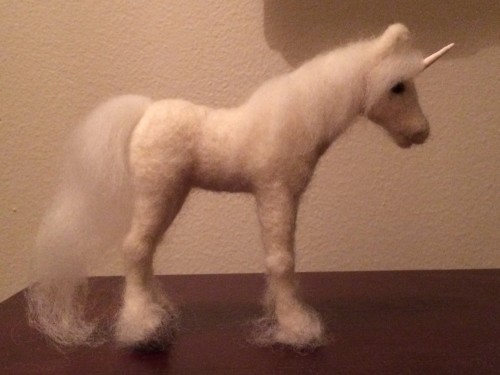