I was in the middle of doing a tiger when someone sent me a picture of a needle felted bunny, and I just had to make one myself.
1. As always, I start with a fluff of wool, a barbed needle made for felting and a foam pad.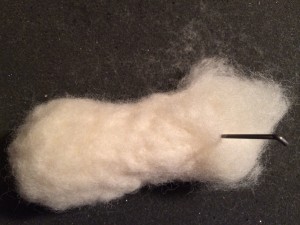 2. Start poking wool into basic shape.
3. Make base of head on top.
4. Add more wool and start building a shape. You can see in this picture I started adding some more wool for the cheeks and the lower legs.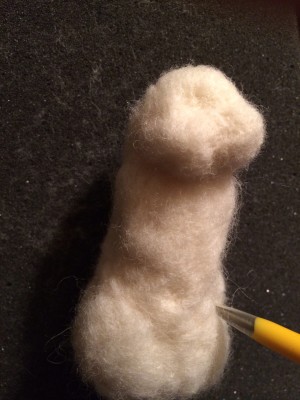 5. Felt a roll of wool separately. This will be the arms.
 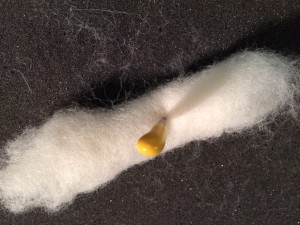 6. After it’s firm, cut it in half.
 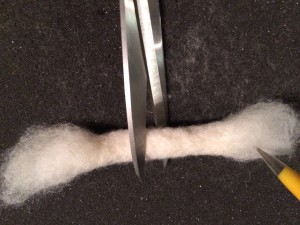 7. Poke half the side in so that it’s profile looks like the one on the right when turned.
 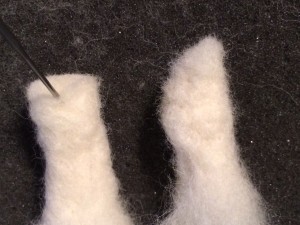 8. Poke the loose wool into the body.
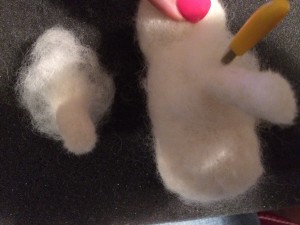 9. Build up the face more.
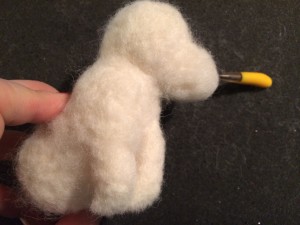 10. Add more cheek fullness.
 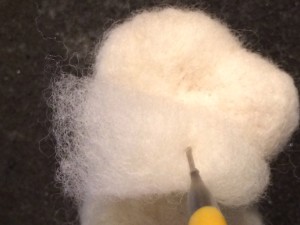 11. Poke in a continuous line to make mouth and nose definition
  12. Make a pointed tube like this. This will eventually be the ears.
 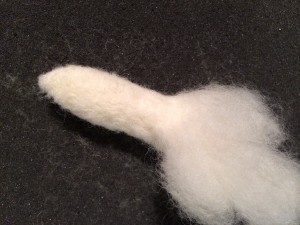 13. Cut it in half lengthwise.
 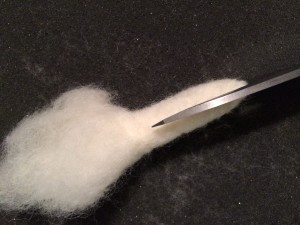 14. Split in half.
 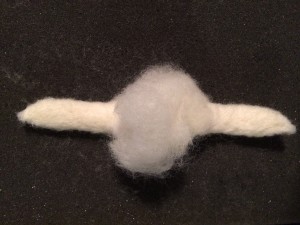 15. Flip over so that what was the inside of the tube is facing upward. Poke at the center. This will help hollow the ears out.
 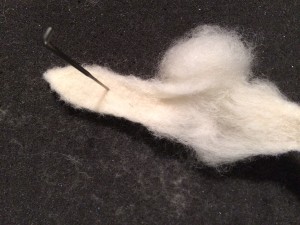 16. Poke in and pinch near the tops. Then place this on the head and poke on.
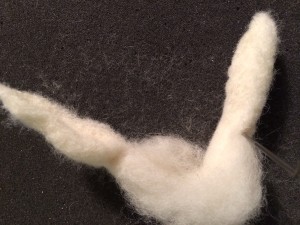 17. Add on bottom paws with the same technique as arms. The loose wool from that will help form the lower legs. Add more wool to fill out.
 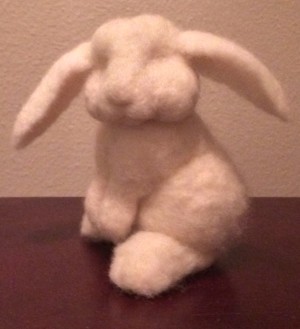 18. Add beads for eyes by sewing them on.
19. Cover the eyes with wool and then shape them.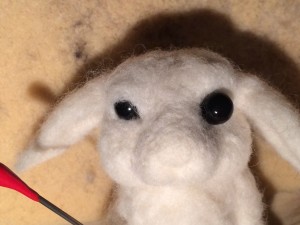
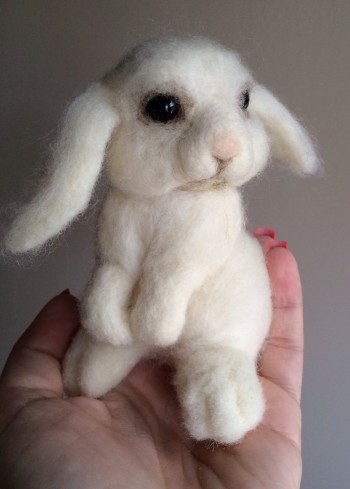
Add a hint of pink on the nose and some tan around the eyes and mouth. Here is the finished bunny below. 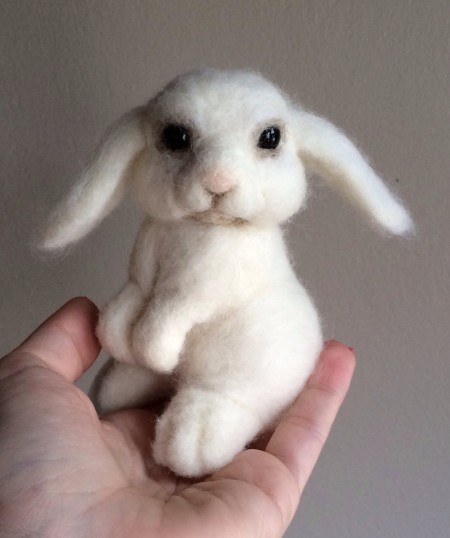
I want this rabbit! I have always wanted to try to needle felt but I just haven’t had the time to devote to it. This bunny is amazing! And I just love, love Easter themed decorations. Thanks for sharing your project with us!
Thanks Jen! Your tweet was pretty funny.
The bunnys no e..loll love it I want it. It looks so real your so awesome! It can be my loop eared bunnies friend. They look alike besides he’s got black spots. It’s amazing work!
I love lops. That’s why I gave him the droopy ears : )
The bunny is so adorable.
Thanks Bonnie!
Another amazing felt project! Your house must be overflowing with cuteness!
You might think that but I give 99% of everything I’ve ever made away. If they stay with me, I get mean and tell them their tails too fat or their feet are too stumpy. It’s better to let them go before I become abusive : )
This really is the sweetest thing ever, Donna! I admire your talent — and your patience! 🙂
Thanks, Linda : ) I have to admit, I get a really big kick out of you posting on my critters since I’m a fan of your books.
Looks cute
I am really in awe of this craft. You did such a wonderful job, thank you for sharing it with us and making me smile 🙂
oh wow!! That bunny is awesome!
Hi! This is an adorable bunny! This tutorial was perfect to learn how to make this bunny! Your the best! 🙂 <3
Thank you! I’ve been slacking on the felting tuts but will hopefully get some more up soon : )
Donna Augustine
Hello,
what kind/size of bead do I need?
Thank you!
Stella
Hi,
I used black glass beads I bought from Michaels Craft Store. I think they were about 6mm. As long as you’re close to the size, you can get away with using larger ones. Just sink them deeper into the head. Don’t use the plastic ones. The gloss coating will flake if your needle rubs on them too much.
Thank you for the wonderful tutorial, however, being a new needle felter, I’m
wondering what your completed dimensions are for the bunny rabbit?
Knowing this will allow me to judge how much wool I should begin with.
Thank you!
Sue G.
I actually gave that bunny away so I don’t have the exact dimensions anymore. I could give you a rough guess of about 5″ high. I know that isn’t a lot of info. I’m sorry!
Thanks for this tutorial. It make this seem easy! I look forward to seeing more.
Hi Donna,
my 10 year old son is very ambitiously making a tiger for his 4th grade animal report and I was wondering if you have a tutorial for the tiger you mentioned in here?
hey! What tiger did I mention? I posted this a while ago so I’m not sure what you’re talking about and I don’t see any mention.